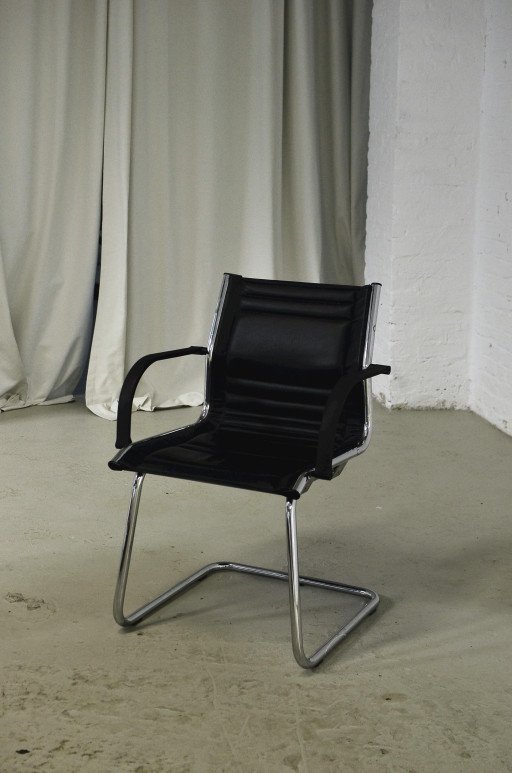
An Introduction to DIY Leather Chair Repair
Exquisite leather furniture epitomizes sophistication and endurance. Nonetheless, the inevitable wear and tear demand occasional restoration efforts. Embarking on a DIY Leather Chair Repair Guide can be economical and gratifying, offering an extended lease of life to your beloved seating arrangement. This article delineates step-by-step directives to assist you in achieving excellence in leather refurbishment independently.
Evaluating Your Leather Chair’s Condition
Initiating repair necessitates a thorough evaluation of the chair’s condition. Scrutinize for cracking, peeling, discoloration, or holes. Discerning the severity of damage informs your approach in selecting appropriate materials and techniques for mending.
Accumulating Essentials for Leather Restoration
Before proceeding, assemble these essentials:
- Leather cleaning solution
- Supple cloths
- A comprehensive leather repair kit (inclusive of adhesive, sub-patch fabric, filler, and dye)
- Fine-grain sandpaper
- Leather conditioning product
- A spatula or palette knife
Preparing the Leather for Mending
Commence with purging the leather using a designated cleaning agent, meticulously eliminating any contaminants. Post-cleaning, ensure the surface is devoid of moisture prior to progressing with the repair work.
Rectifying Tears and Crevices
Utilize a sub-patch material to stabilize tears or punctures, adhering it beneath the damaged region with leather glue. Ensure firm placement and adhere to drying time recommendations specified by the glue manufacturer.

Amending Scratches and Fissures
Apply leather filler to scratches or cracks using a spatula, ensuring smooth integration with the surrounding surface. After drying, sand the area delicately for uniformity.
Continue your DIY journey with critical steps to revitalize the appeal of your furniture.
Reviving the Color and Texture of Your Chair
Following filler application, restore the chair’s original tone with layered colorant applications from your kit. Employ grain paper to replicate the authentic texture of your leather chair, pressing it against the moist dye to transfer the pattern.
The Final Flourish: Conditioning and Buffing
Post-repair, rejuvenate the leather using a conditioner to enhance its sheen. Apply using a soft cloth, buffing away any excess to attain a glossy finish.
Preserving Your Leather Chair’s Elegance
Maintaining your chair’s pristine condition is paramount. Regular cleansing with suitable leather care products and shielding from direct sunlight or heat prevents premature aging and discoloration.
Implementing Advanced Repair Techniques
For complex damages, like extensive tears or deep cracks, advanced repairs might be necessary. These could involve intricate stitching or patchwork, which might demand greater expertise and specialized equipment.
When to Consult a Leather Repair Professional
Face a challenging repair task? Don’t shy away from consulting a seasoned leather repair professional. Their proficiency ensures significant damage is rectified adeptly, safeguarding your leather chair’s structural and aesthetic integrity.
Closing Thoughts: The Reward of Mastery
Mastering the art of DIY Leather Chair Repair offers a sense of accomplishment. Beyond enhancing the charm of your home, it nurtures pride in sustaining the allure and functionality of your decor. Equipped with essential skills, tools, and materials, even the most common leather maladies are within your capability to mend, securing the grandeur of your chair for the foreseeable future.
Related Posts
- DIY Home Repair Techniques: 15 Innovative Tips for Handy Homeowners
- 7 Auto Paint Touch-Up Techniques for Car Enthusiasts
- DIY House Repair Guide: 5 Essential Tips for Home Maintenance
- DIY Auto Rust Repair Techniques: 5 Essential Steps for Vehicles
- 5 Essential Tips for Drywall Repair Guide Mastery: A DIY Tutorial